

Identifying emails in your inbox can be time consuming if you’re opening each one up and responding to them in order of receipt, instead if identifying companies in your inbox and responding to them in order of importance. Creating a clearly defined system of email hierarchy will help you stay productive by indicating which emails you should reply to first.
The problem with an unorganized inbox is hard: how do you create an email hierarchy system? We suggest the following, in order of importance:
- Inter-office communication must be responded to first. You never want to leave a teammate waiting on you as their bottleneck and preventing a company-wide effort.
- Company emails are next because they could be your customers who need customer support, or potential customers who need more information before they buy your product or service.
- Personal emails come last because your workday time is your employer’s time. Keeping a productivity mindset is something that needs to be protected all day long, and if you need to respond to personal emails, you’ll risk losing that focus that makes you so valuable at your job.
Email Sender Icons is a new app that visually helps you identify which companies are emailing you. Based on that information, you can easily create your hierarchy system and respond to your email hierarchy system.
Here’s a quick movie on how that works:
Using this extension visually identifies companies in your inbox, where you can easily click on the official company logo (also known as a favicon), and it will direct you to the company’s website. This is helpful for you to know if someone at Google.com is emailing you, or a random company that you don’t recognize–all without even opening the email at all.
Here’s 3 steps to use the extension:
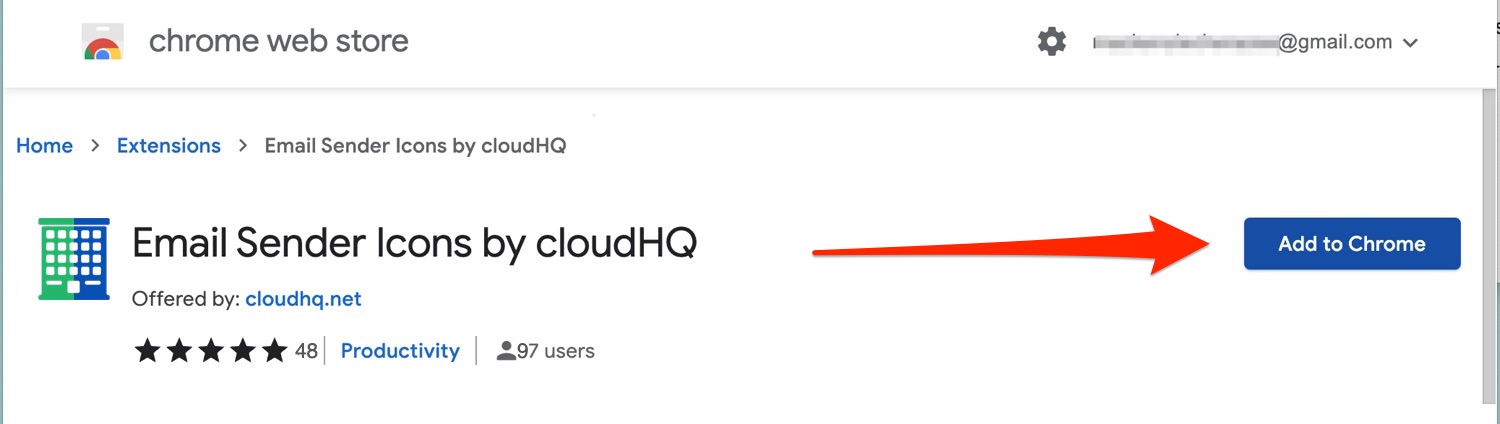
Step 1: Install ‘Email Sender Icons”
Go to the Email Sender Icons by cloudHQ Chrome extension from the Google Chrome webstore, and click on Install.

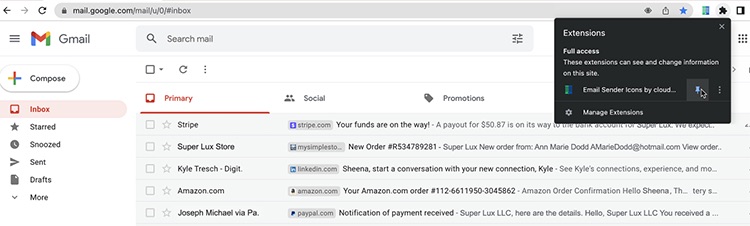
Step 2. Pin Extension to Chrome Toolbar
Pinning your new Chrome extension to the toolbar gives you the ultimate control over toggling the feature on and off. By pinning the extension to your Chrome toolbar, you’ll easily be able to adjust the company logo size, and it will also let you upload your own custom company logo.
Go to the puzzle piece icon next to your profile picture in your Chrome toolbar, and click on it. Scroll down until you see “Email Sender Icon by cloudHQ” and click on the pin icon to pin it.

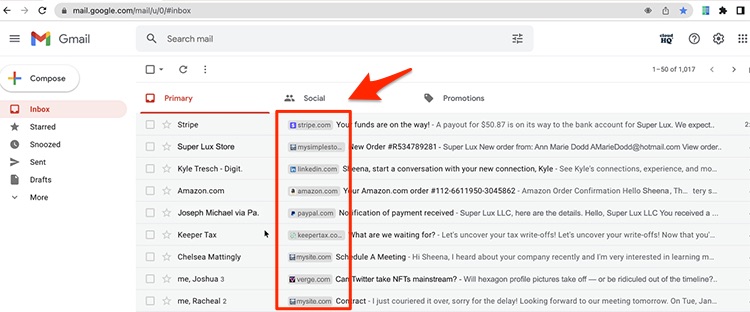
Step 3. Use Your Email Hierarchy System
As soon as your extension is installed, you’ll notice the official company logo appearing before the subject line in your inbox. Use your judgement, and look at the companies that are emailing you. Remember, our system is reply back to first is:
- Inter office communication
- Outside emails from companies
- Any personal emails you may have received
This is what your inbox will look like, for reference:

If you’re unsure of a company that you received an email from, you could always just click on your new email sender icons, and it will immediately take you to the company’s official website.