

There are lots of reasons to record your screen. You might want to show a colleague a new feature. Maybe you want to record a product demo video for new prospects, or a tutorial for YouTube. Or you might just want to show your mom how to set up her new laptop.
Whatever your reason to screencast, you want to be able to record your screen as quickly and easily as possible. Well, with our newly updated Free Screencast Recording for Gmail Chrome Extension, CloudHQ has you covered.

Right in your email or directly from your browser, Screencast Recording for Gmail allows you to record your computer screen and microphone, as a universal MP4 video file. You can send it as an email attachment, upload directly to Youtube, or save it in your Google Drive, Dropbox, OneDrive or Box cloud storage accounts.
Here’s how it works:
Get Screencast Recording for Gmail From the Chrome Store


To add Screencast Recording for Gmail to your Gmail account, just go to the Chrome Store, click the +ADD TO CHROME button, click ADD EXTENSION in the popup window, and reload your Gmail inbox. It’s really that simple.
Record Your Screen Directly From Your Browser

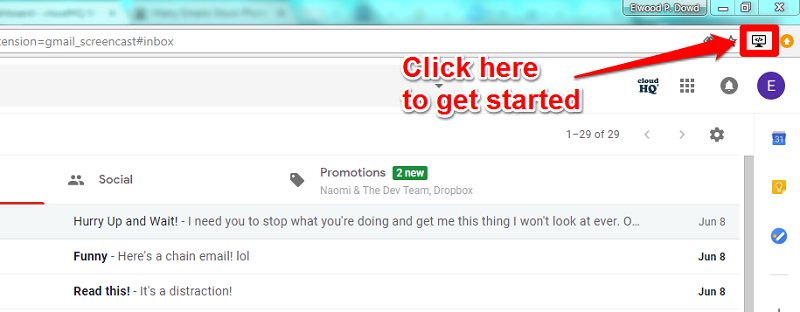
Now you’ll notice a new screencast icon in the extensions menu of Google Chrome, just to the right of the address bar. To start a screen recording, just give it a click!

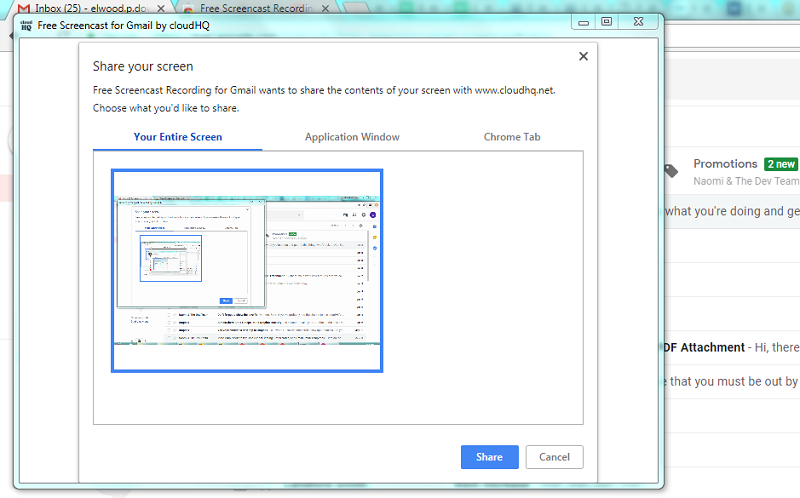
Once you’ve clicked it, you’ll get a popup menu which gives you three options to record your screen.
- Your Entire Screen records (you guessed it!) your whole screen
- Application Window allows you to select from any program that’s open on your desktop. Once you pick a program, the screencast will record only that application window.
- If you want to record a web page or application, select Chrome Tab. This option will present you with a list of the open tabs in your browser. Once you’ve selected one, the screencast will record only the desired tab.
When you’ve selected the desired portion of your screen to record, press the Share button to start the recording (if you don’t see the Share button right away, expand or maximize the screencast window). If you don’t want to record any sound, be sure to disable your microphone before you start recording. There will be a countdown from three for you to get ready, and your recording will start.


Once you’ve started recording, the Display Window will show what’s being recorded in the screencast. You can stop recording any time by clicking Finish Recording. But you will probably want to hide this window, so you can record whatever else is on your screen.
There will also be a progress bar at the bottom of your screen that will allow you to stop recording at any time by clicking the Stop Sharing button. Don’t worry, this bar won’t show up in your final screencast video.
Save Your Screencast

When you’ve finished recording, your screencast will take a few seconds to render. A new tab will open in your Chrome browser with the rendered video. Now you can copy/paste the URL and send it as a link by email, chat, or SMS.
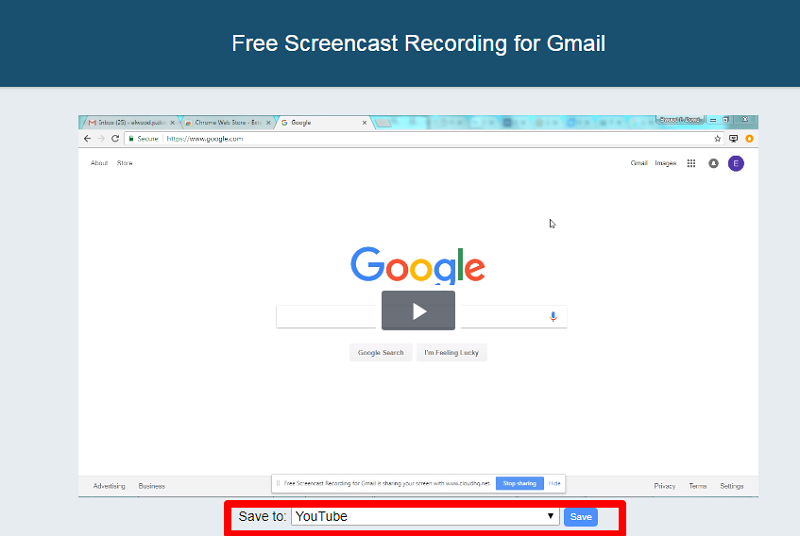
Alternately, you can choose from the Save to: dropdown menu to upload your new video as an MP4 video file directly to YouTube, Dropbox, Google Drive, Box, or OneDrive. Once you’ve selected a destination, just click Save to send the file to that account.

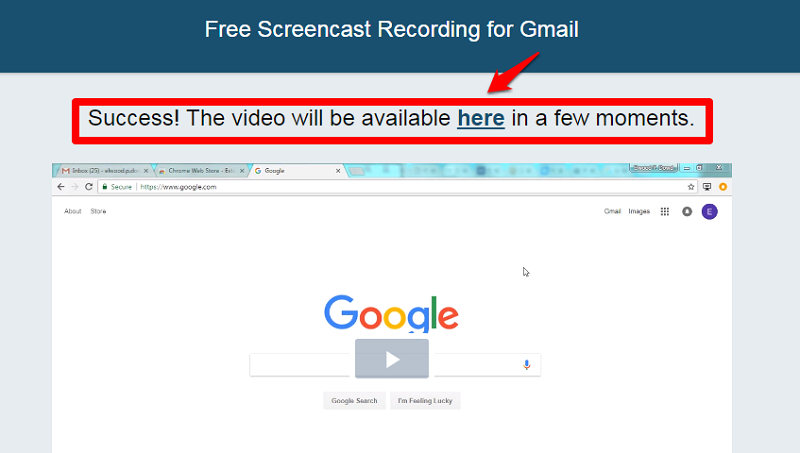
Finally, once the video has saved, a success message will appear above your video with a link to your selected account. Click it to open the file location in a new tab.

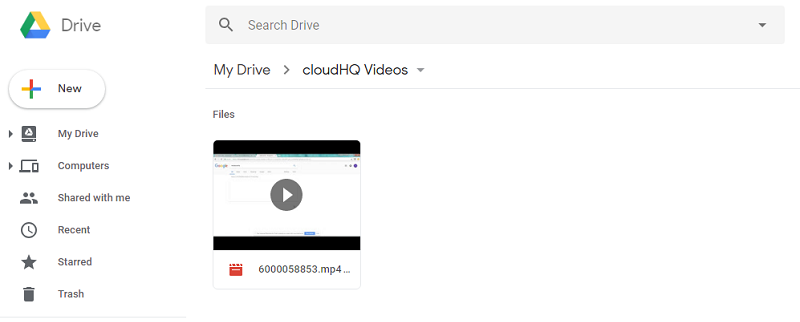
For instance, here’s our completed video saved to Google Drive. The “cloudHQ Videos” folder was automatically created. All future screencasts will be sent to this folder by default. If you want, once you’ve saved your video you can right-click or command-click to rename it. And you’re done! Save it for your own reference, share it, post it, send it, whatever you want!
Record Your Screen Directly from Gmail
If you want to send a screencast directly to a colleague (or your mom), start by clicking the Compose button, just as you would with any email.

You’ll notice a new screencast icon (the same one from your browser!) in the toolbar along the bottom of the email composition pane. Click it to get started, and then make your recording, just as you did in the previous section.


When you finish, your video will again take a few seconds to render. Then it will show up embedded directly in your new email with a preview window. Once sent, the video will link to the same new tab as from your browser. Your recipients will be able to view, save, share, or upload as they see fit!
Show, Don’t Tell
Screencast Recording for Gmail is easy to install, easy to use, and best of all, is completely free. It’s the perfect time-saving alternative for complex emails to teammates, clients, employees, or anytime you have a message that’s easier to “show” than to write out in words:
- Providing feedback for employees’ work
- Sending notes to a client or contractor
- Describing a feature to a sales prospect or colleague
- Showing a customer how to fix a problem
- To impress a hiring manager at a company where you’d love to land an interview
- To make a how-to tutorial for your Youtube channel
- Showing a friend or loved one how to do something on their computer
Click on the button below to start recording your screen now!
