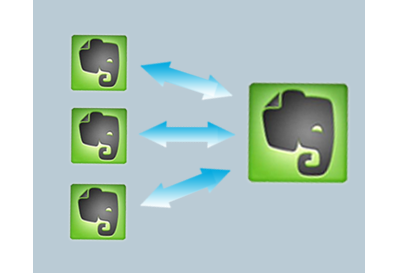
Evernote is one of the most popular cloud services available to professionals for individual use, as well as company use, in companies both large and small. It is especially useful in BYOD environments which deal with remote workers. From the Evernote app, users can quickly jot down notes, take photos, create audio clips when typing is not efficient (such as driving), and much more. Users can also save web pages to Evernote for research or other use, and the tagging and searching features are unbeatable. Evernote also allows users to sync to certain other cloud services such as Dropbox. But one question we have heard a lot recently is- how can I create an Evernote to Evernote sync?
Why create Evernote to Evernote sync?
At first I must admit, we weren’t sure why users would need Evernote to Evernote sync. But, after taking input from many users, we found that reasons why users want Evernote to Evernote sync vary, but some of the top reasons are:
- To create sync of certain notebooks from a personal account to a business account.
- To make a backup (archive) Evernote account (sync multiple Evernote account into one central account)
- To sync specific notebooks from one business account to another business account.
- To create sync to a central account that allows employees access to certain notes while keeping others private.
- To sync notebooks from one account to an account owned by someone else while allowing them to independently modify notes after they are transferred.
How to create Evernote to Evernote sync
The process to create an Evernote to Evernote sync is simple. First, you set up an account with cloudHQ. Then you need to go to the sync wizard, which can be accessed here.
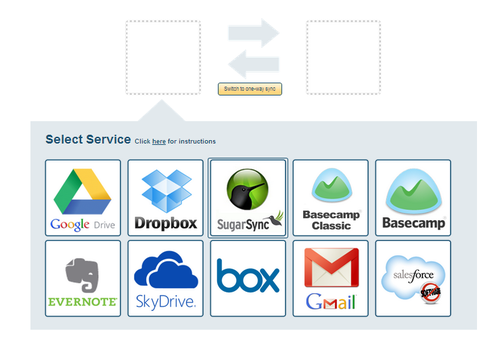
Drag the Evernote icon to the box on the left.
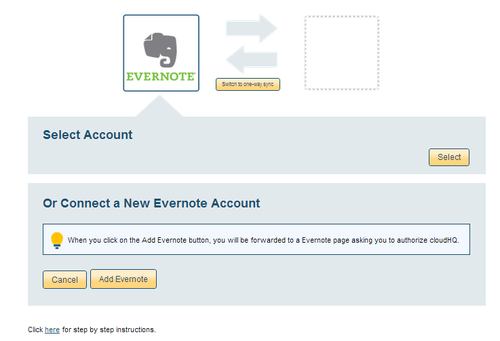
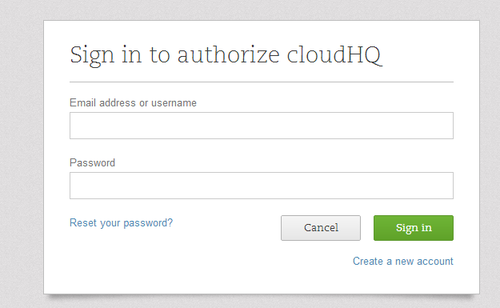
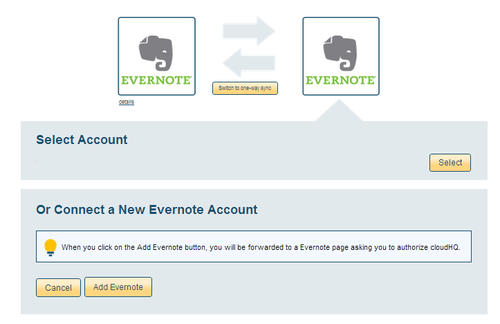
Click on “Add Evernote” and sign in with your Evernote login credentials.
Now select the notes or stacks that you wish to sync.
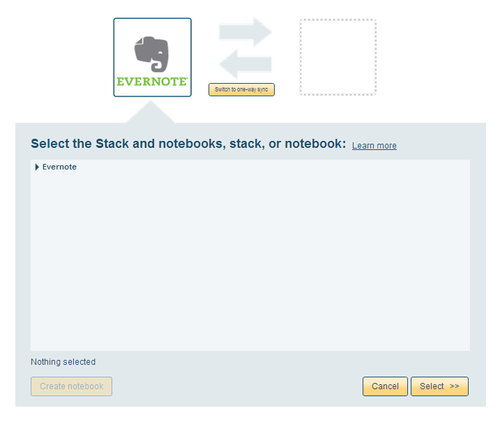
Now it’s time to select (or create) your backup Evernote account. Drag the Evernote icon to the box on the right. You will now go through the same process of authenticating your secondary Evernote account, be it a business, personal or someone else’s account. Select the notebook or stack where the files will be synced to, and you will be taken to a settings page.
If you only want the replication to be one-way, be sure to select this. If you do not select this, replication of files (deletions, revisions, etc.) will be replicated between both accounts.
If you choose the “Synchronize continuously” option, cloudHQ will run in the background and continuously and automatically replicate changes. Any new files that are added will be instantly replicated to the secondary account. Any revisions to existing files will be instantly replicated to the secondary account. You can also choose “Synchronize once” if you would rather manually sync your notes and stacks.
Now you are finished and have successfully created Evernote to Evernote sync. Now you will be able to automatically have files synced from a personal to business account (or vice-versa), or whatever other reason you need to sync files from one Evernote account to another. And don’t forget, cloudHQ also provides sync between Evernote and Google Drive, Dropbox, SkyDrive and many other popular cloud services.
