Do you find yourself needing to move on from an email address, or making a copy of all your emails?
Many people do. It happens when:
- Your inbox becomes overridden with spam
- You change jobs
- You change from an “@gmail.com” email account to an “@yourcompany.com” email account
- You change your name due to a marriage or a divorce
- Your company gets acquired
As you can see, there are a million reasons to change your email address, or even just to transfer emails to a backup email account- which is excellent for record keeping.
That’s why we created Multi-Email Forward for Gmail. In about 3 clicks, you’ll be able to transfer all your emails to another email address. Take a look at how easy it actually is:
It doesn’t take much to get started, either. Here’s a 3-step guide for you to follow so that you can successfully transfer your emails to another email address, and let our easy Chrome extension do all the heavy lifting.
Step 1. Getting started
In order to get started, you’ll need to be in a Chrome browser, and you’ll need to have a Gmail account in order to transfer your emails from your Gmail account to another email address.
Sidenote: If you’re not using Gmail or Chrome, we can still help you. Please visit this wizard, and scroll down to the 2nd section labeled “Email” and follow its prompts.
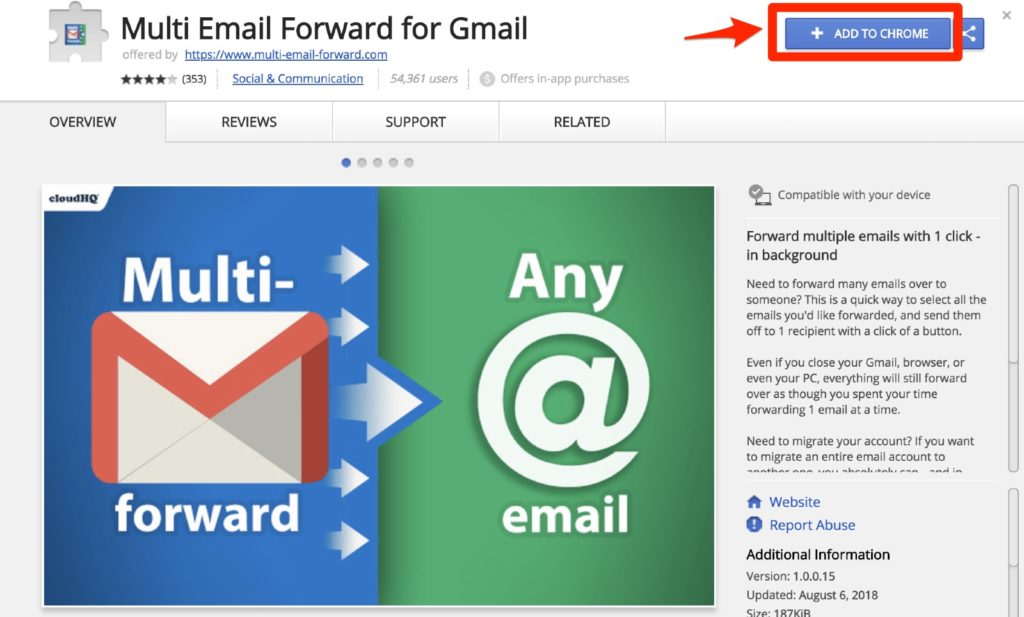
For those who are using Gmail and who are in Chrome, you can start by navigating to the cloudHQ Chrome extension Multi Email Forward for Gmail, and click on + ADD TO CHROME.

Step 2. Select All Your Emails
After your installation, your Gmail will automatically refresh. Once you’re back in your Gmail account as you would be normally, just click on the “Select all page” box, like so:

A new option will show up in Gmail that asks if you want to select all of your emails in your primary inbox. That’s the one we’re looking for, so click on it. Once you click on it, everything will get selected, just as you intended.

Step 3. Start Your Email Transfer
Then, take a look at your new arrow icon that shows up on the top of your Gmail inbox; which in effect, is your new Multi Email Forward for Gmail tool in action. Click on it to start your transfer.
 After clicking on your new icon, you’ll have a pop-up with many options. Just choose the “Migrate all emails” option.

It will prompt you to pay for the service -of which we boast is less than a fast food lunch might cost you- and then ask you to enter in the email address of where you want to send all of your emails.

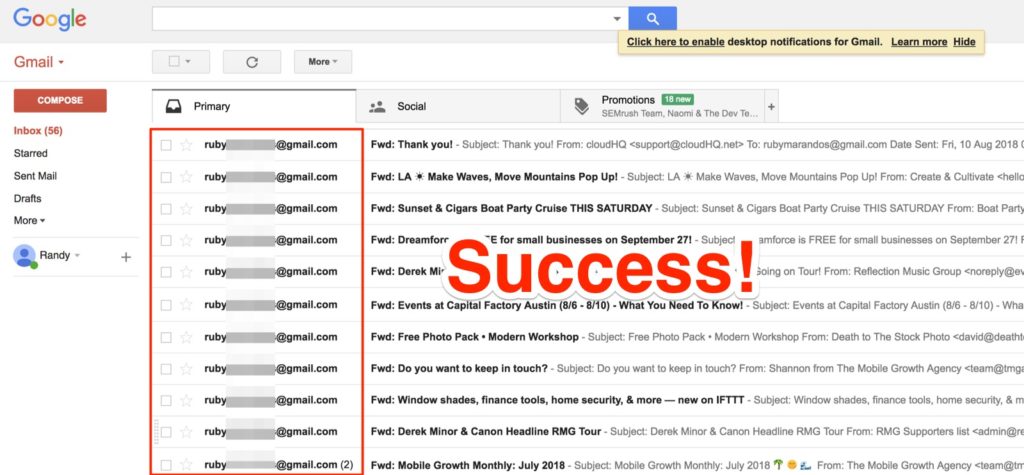
After you enter in the recipient email address of all your emails and click on the blue button below, you’re done!

Try it today for yourself, and see just how easy it is!